")
")
Tutorials
01
January
2017
Integrating 1 x PC Engines APU 2, APU3 or APU4 system board into a RackMatrix® M1 enclosure
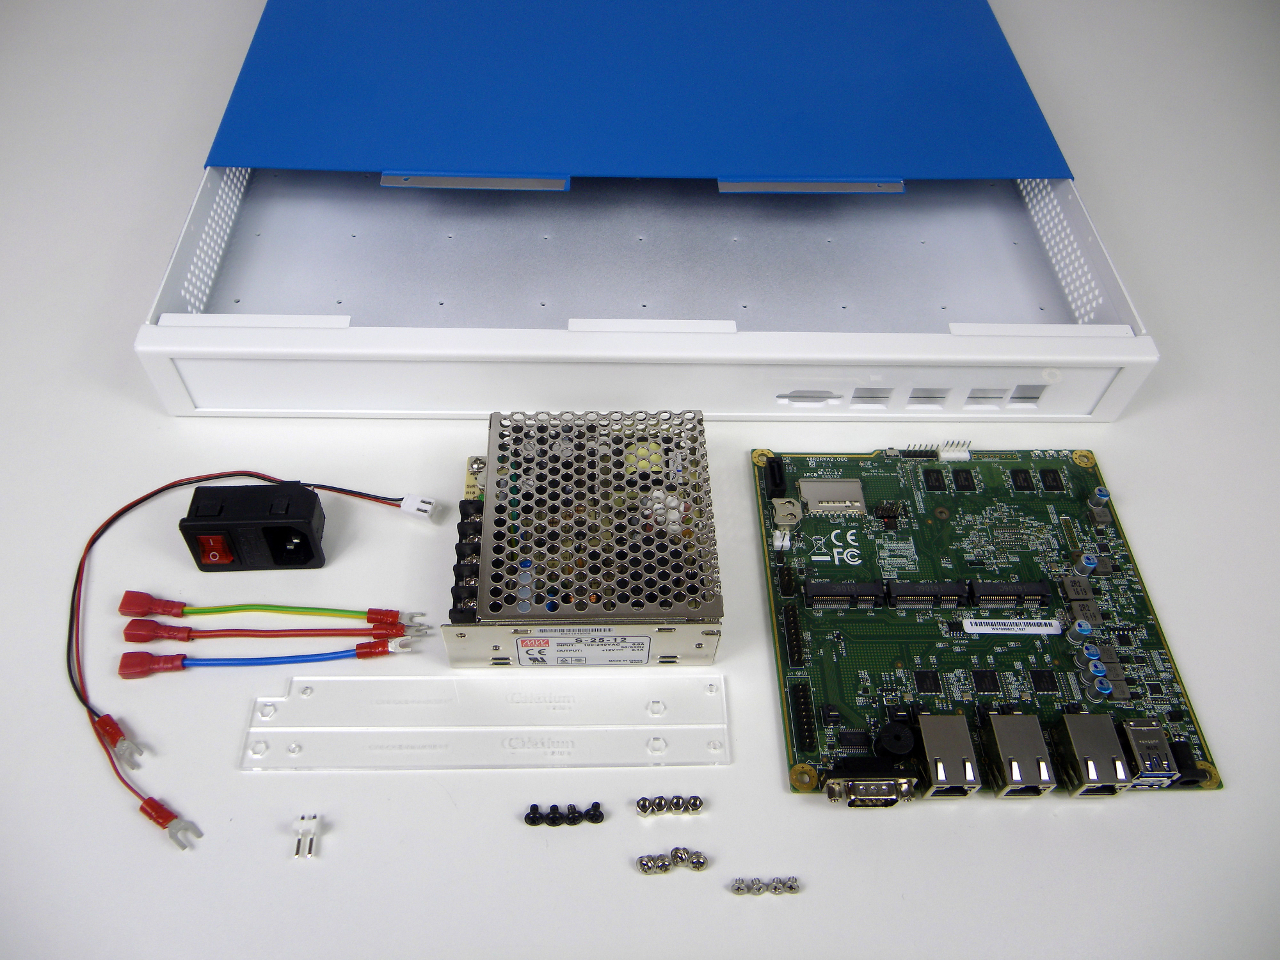
Base requirement with one APU2 system board :
- 1 x RackMatrix® M1 enclosure - RMT-CASE-M1
- for APU1 or APU2 or APU3 1 x RackMatrix® M1 Front plate for ALIX/APU board - RMT-CASE-M1-FP0100-WB
- for APU4 1 x RackMatrix® M1 Front plate for ALIX/APU board - RMT-CASE-M1-FP0120-WB
- 1 x PC Engines APU 2 system board 2 or 4 GB - APU2-2G or APU2-4G
- 1 x RackMatrix® Mount kit for PC Engines APU/Alix system board - RMT-CASE-M1-MK001
- 1 x RackMatrix® power supply cable harness kit for APU/Alix boards - RMT-CASE-M1-ACC0002-A
- 1 x IEC Male Inlet - RMT-AS-10-2
- 1 x Switching Power supply - MWL-S-25-12
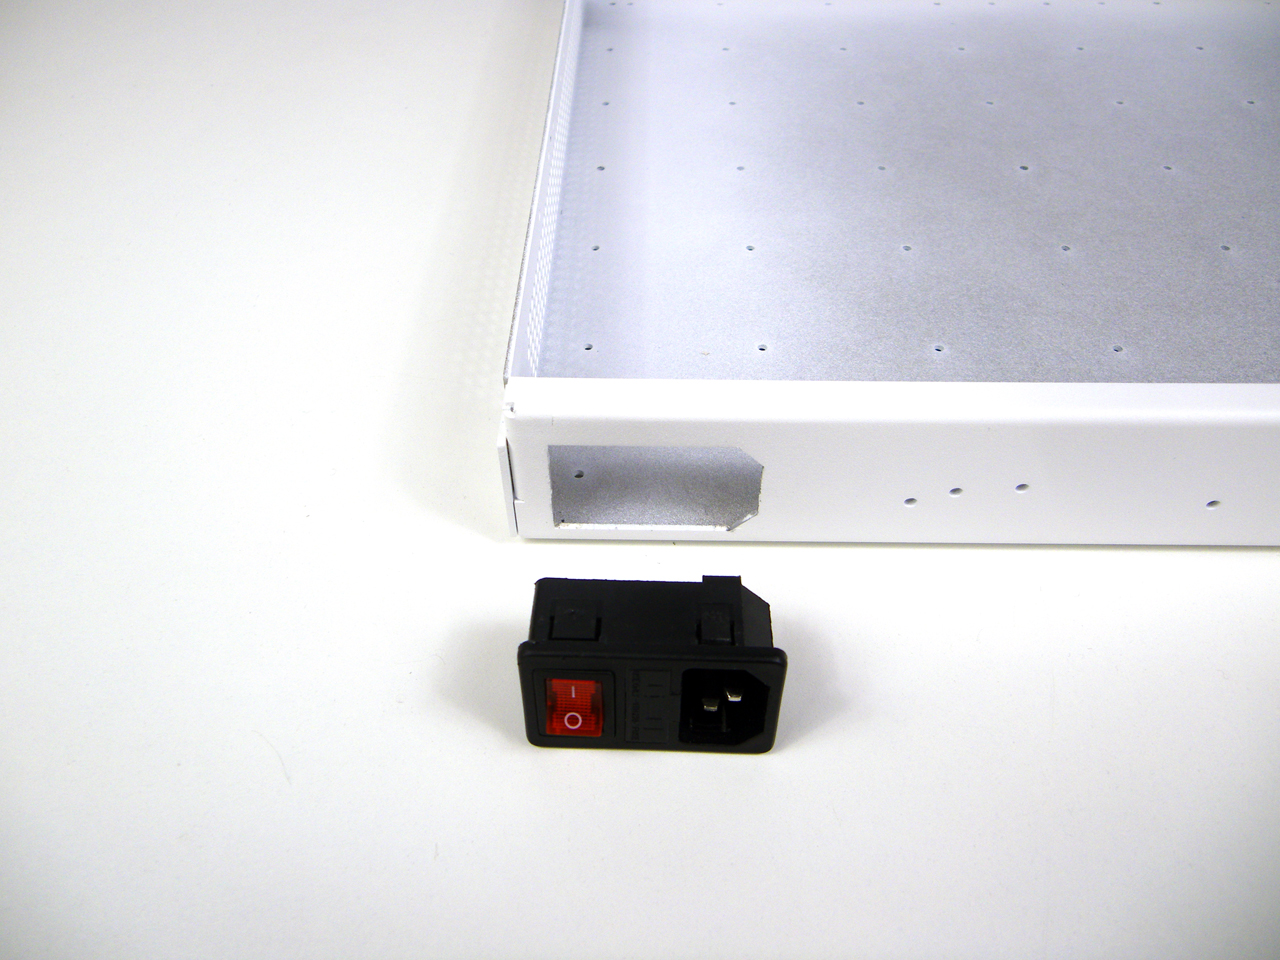
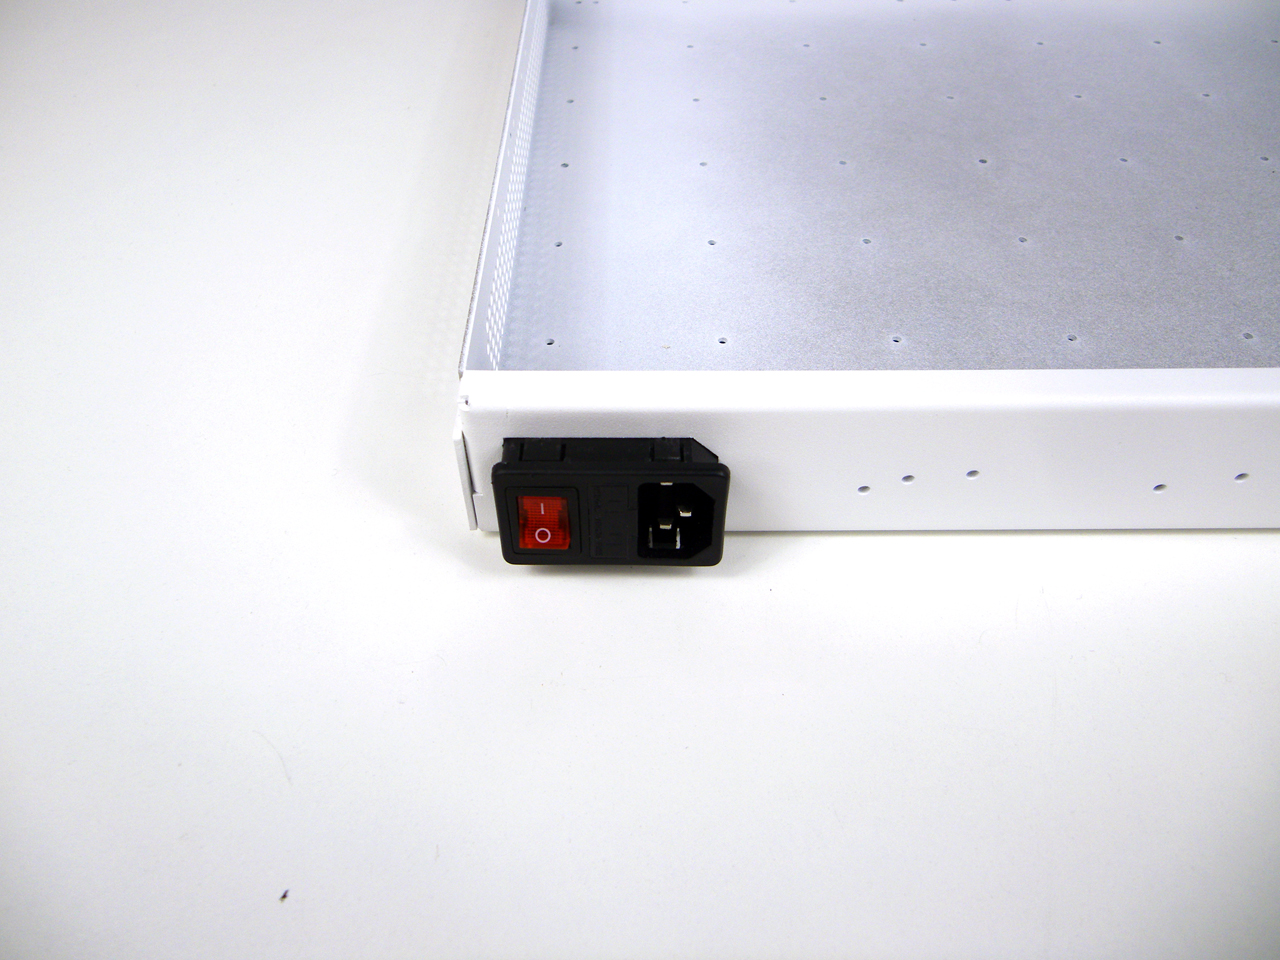
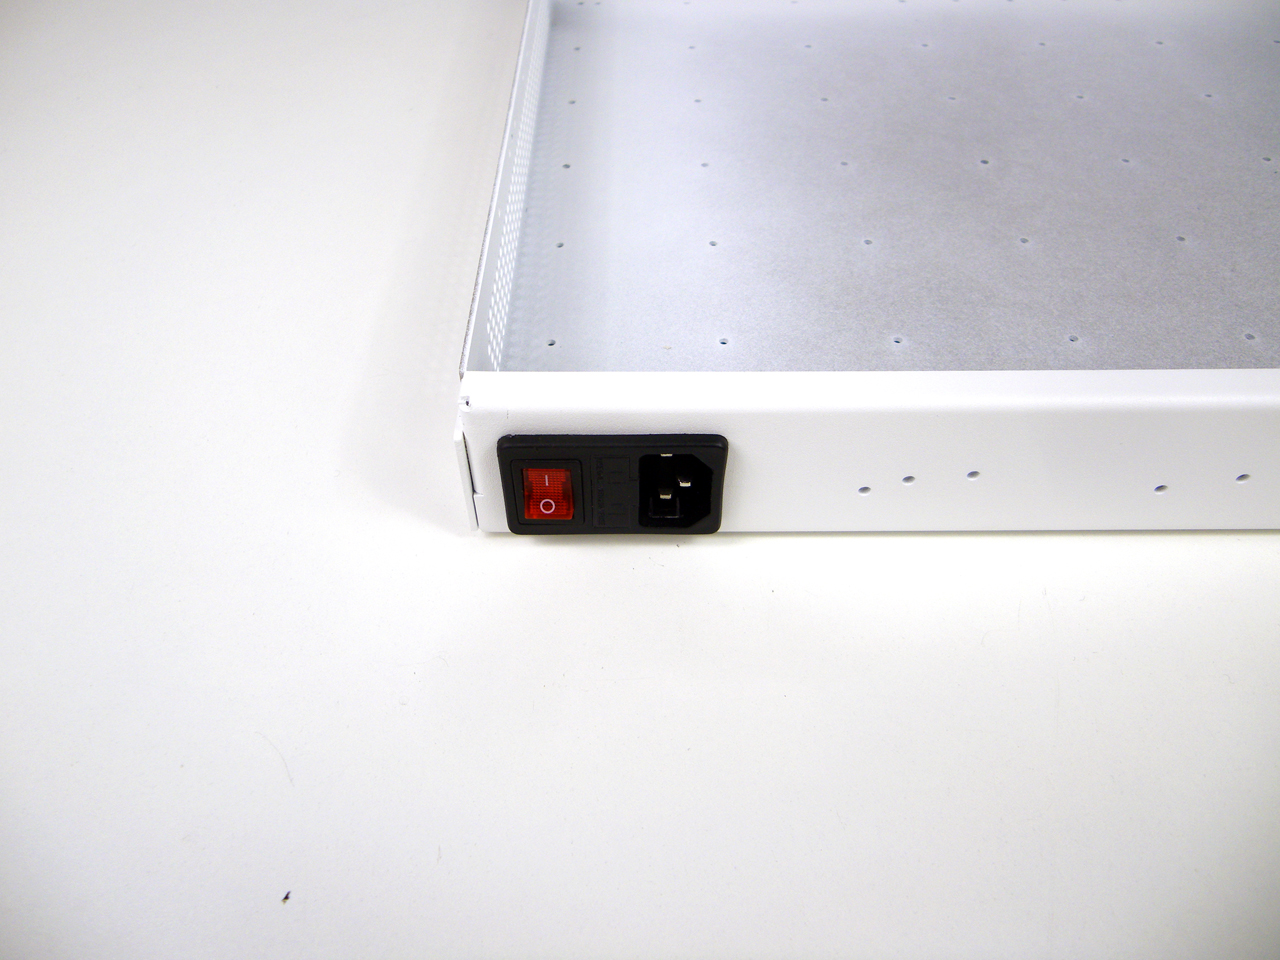
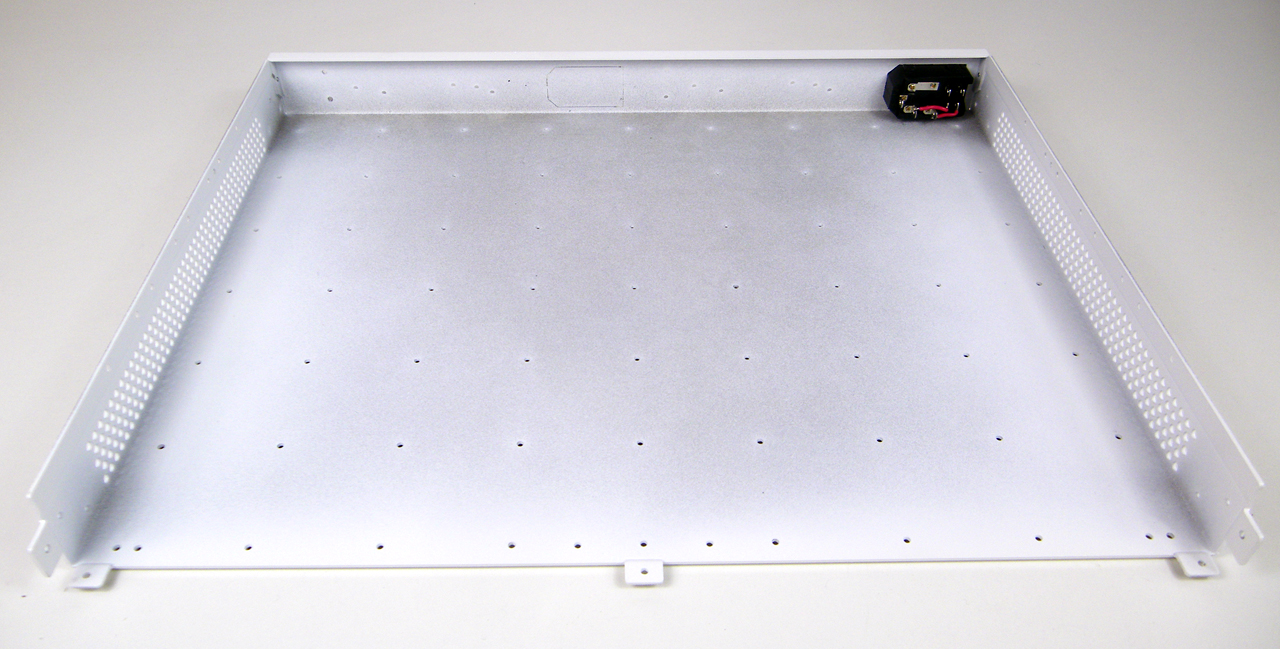
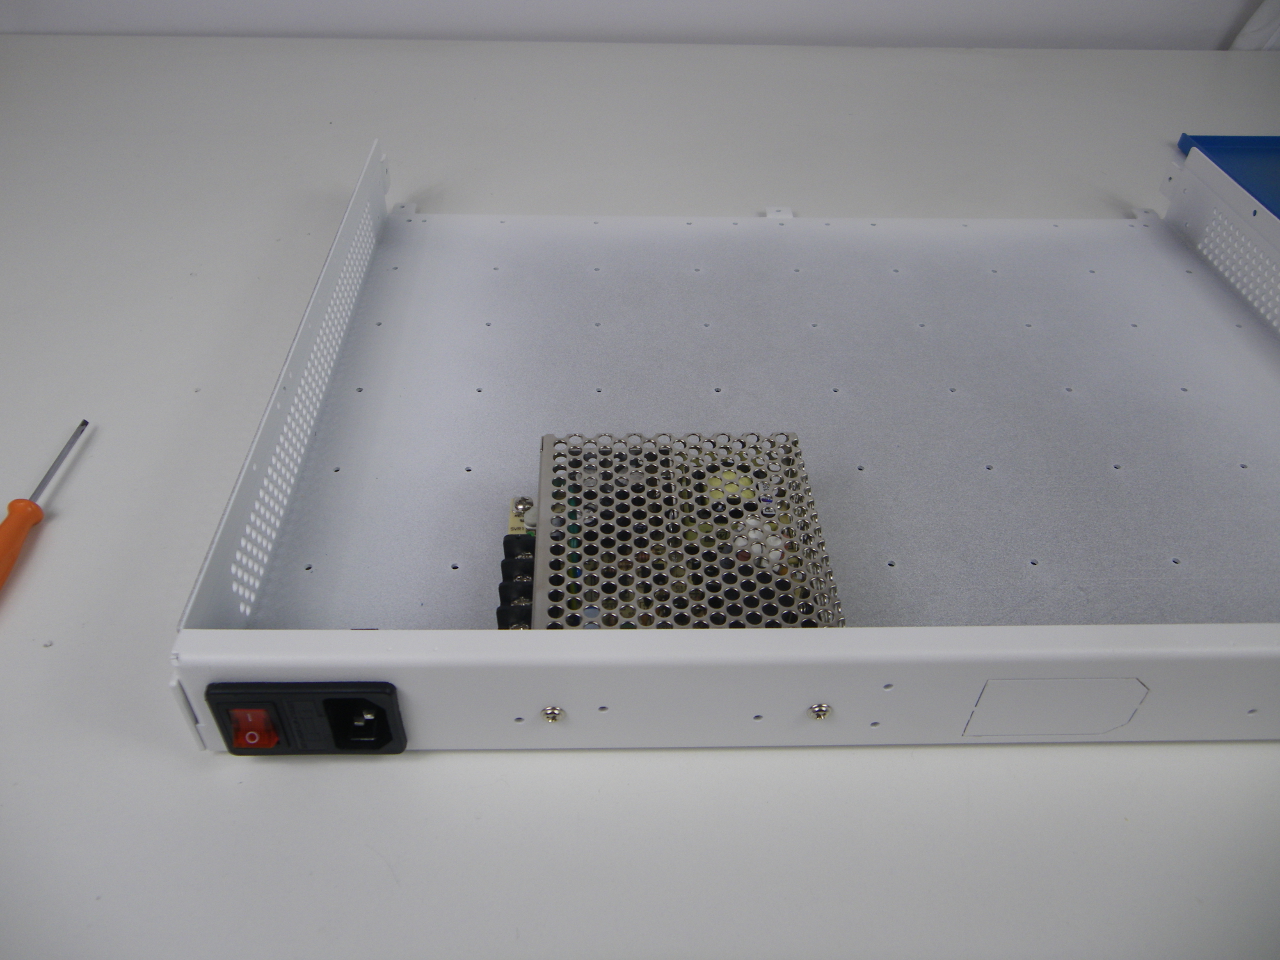
Step 1 - IEC Male Inlet
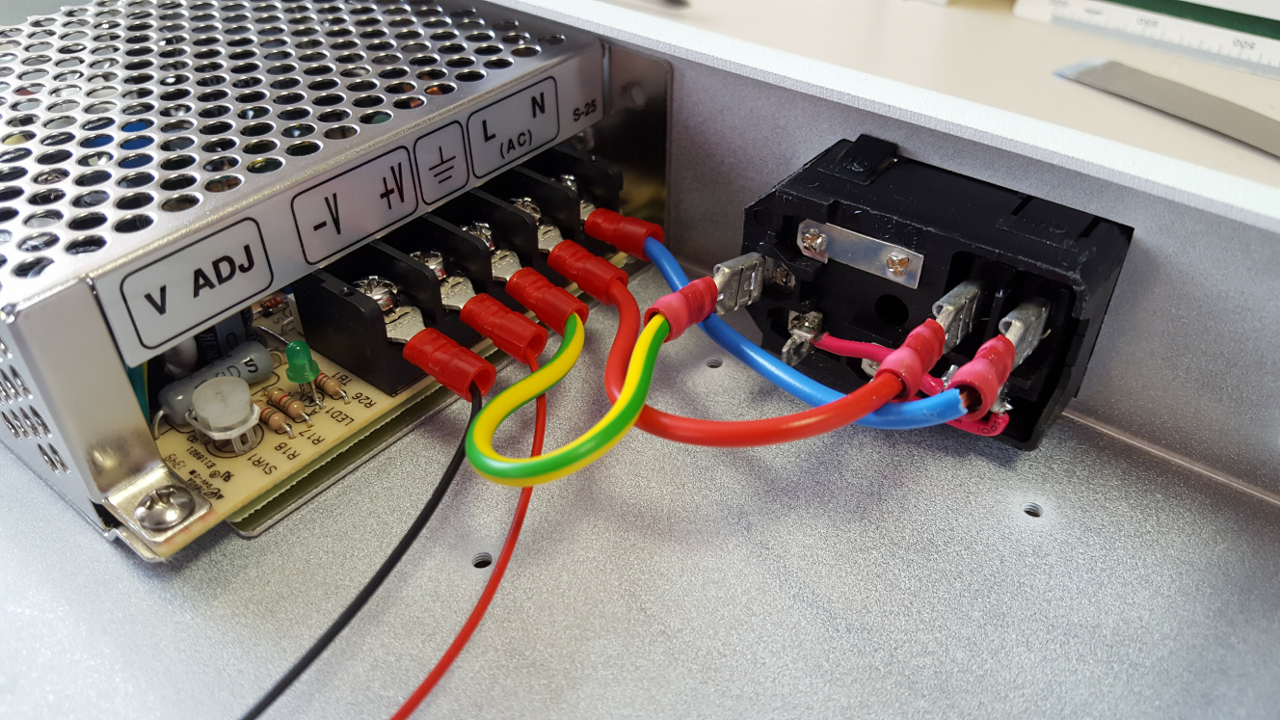
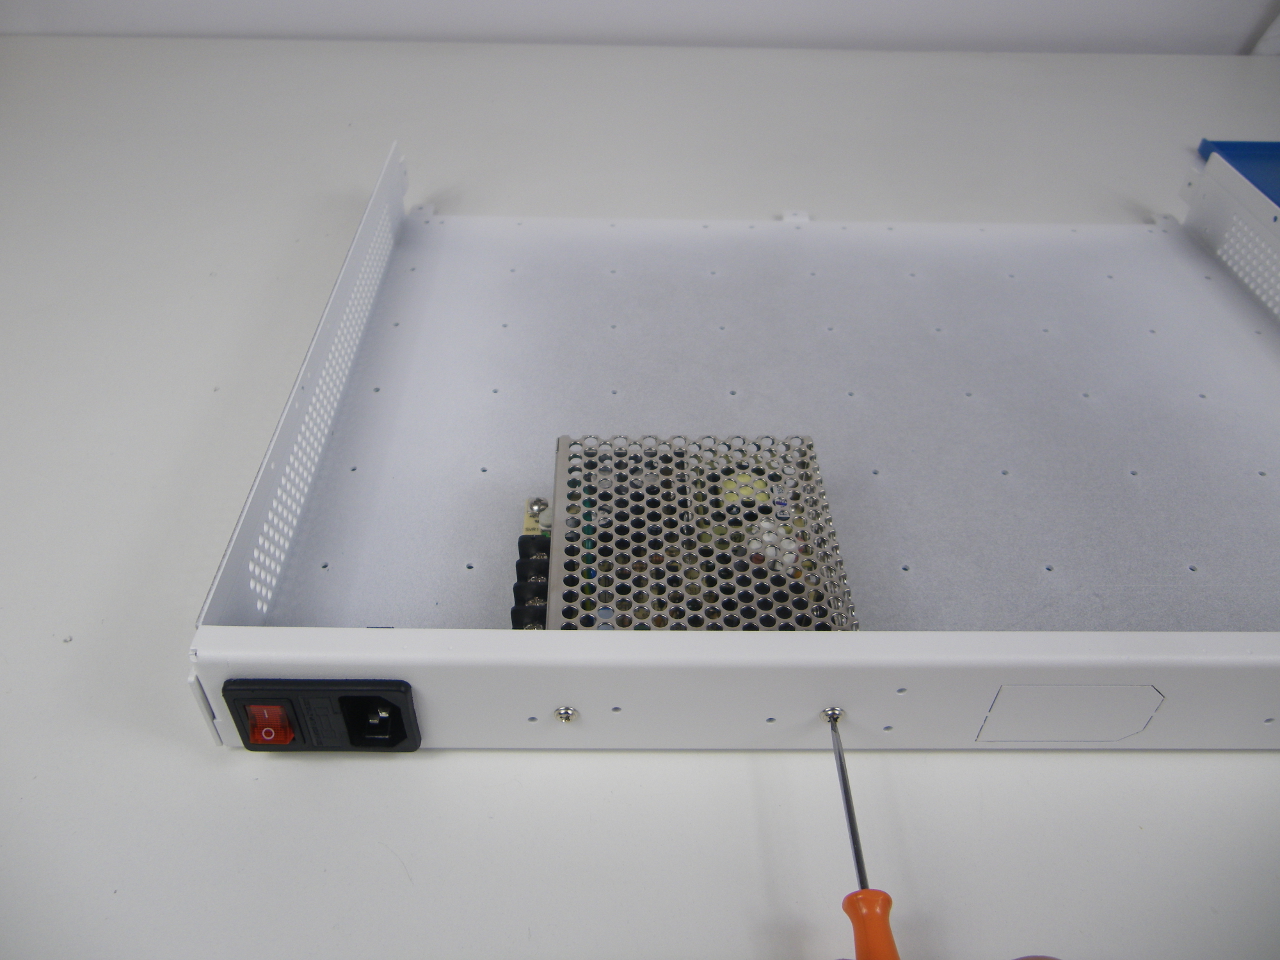
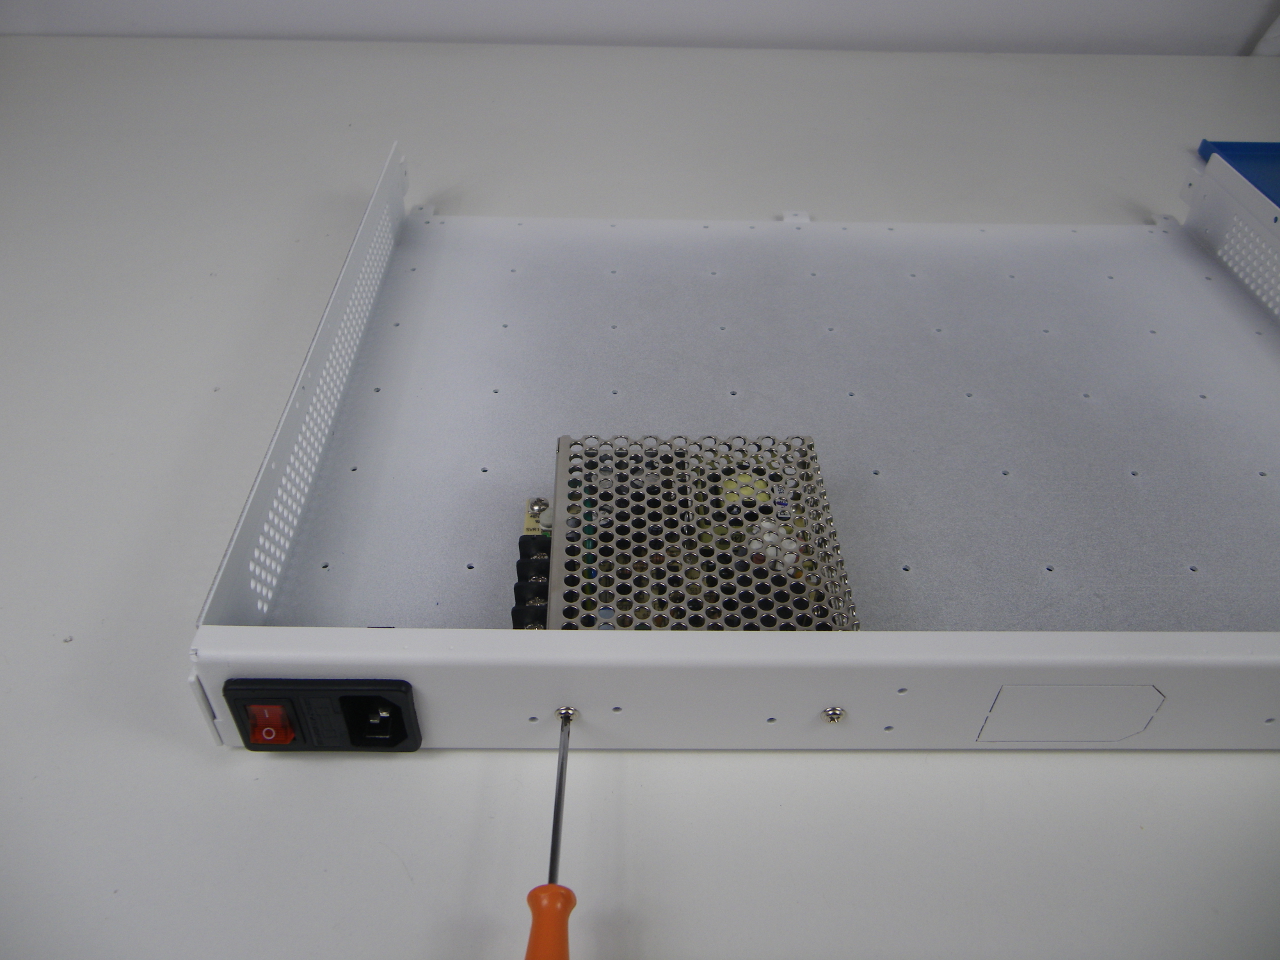
Step 2 - Power supply
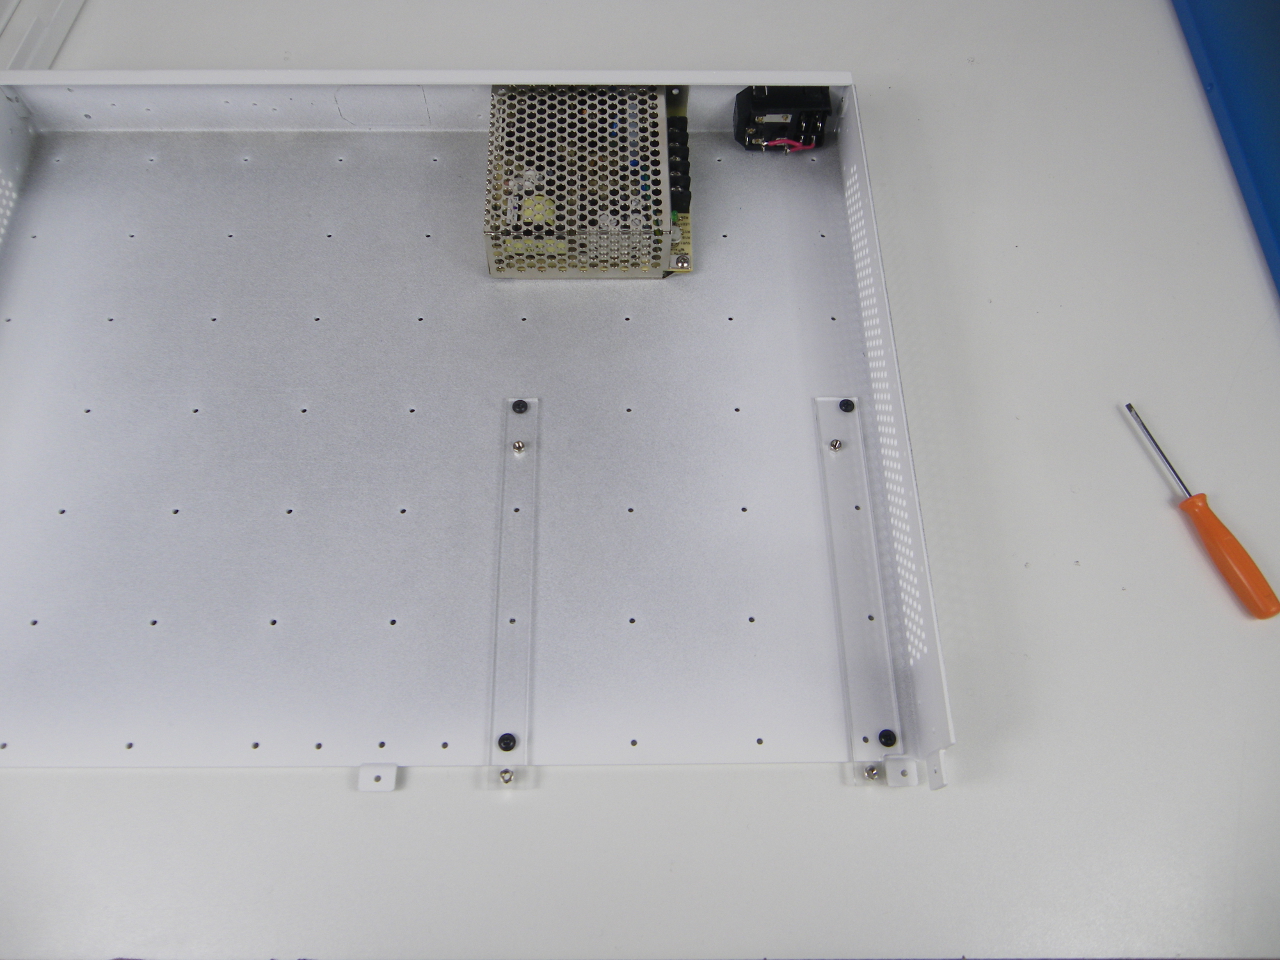
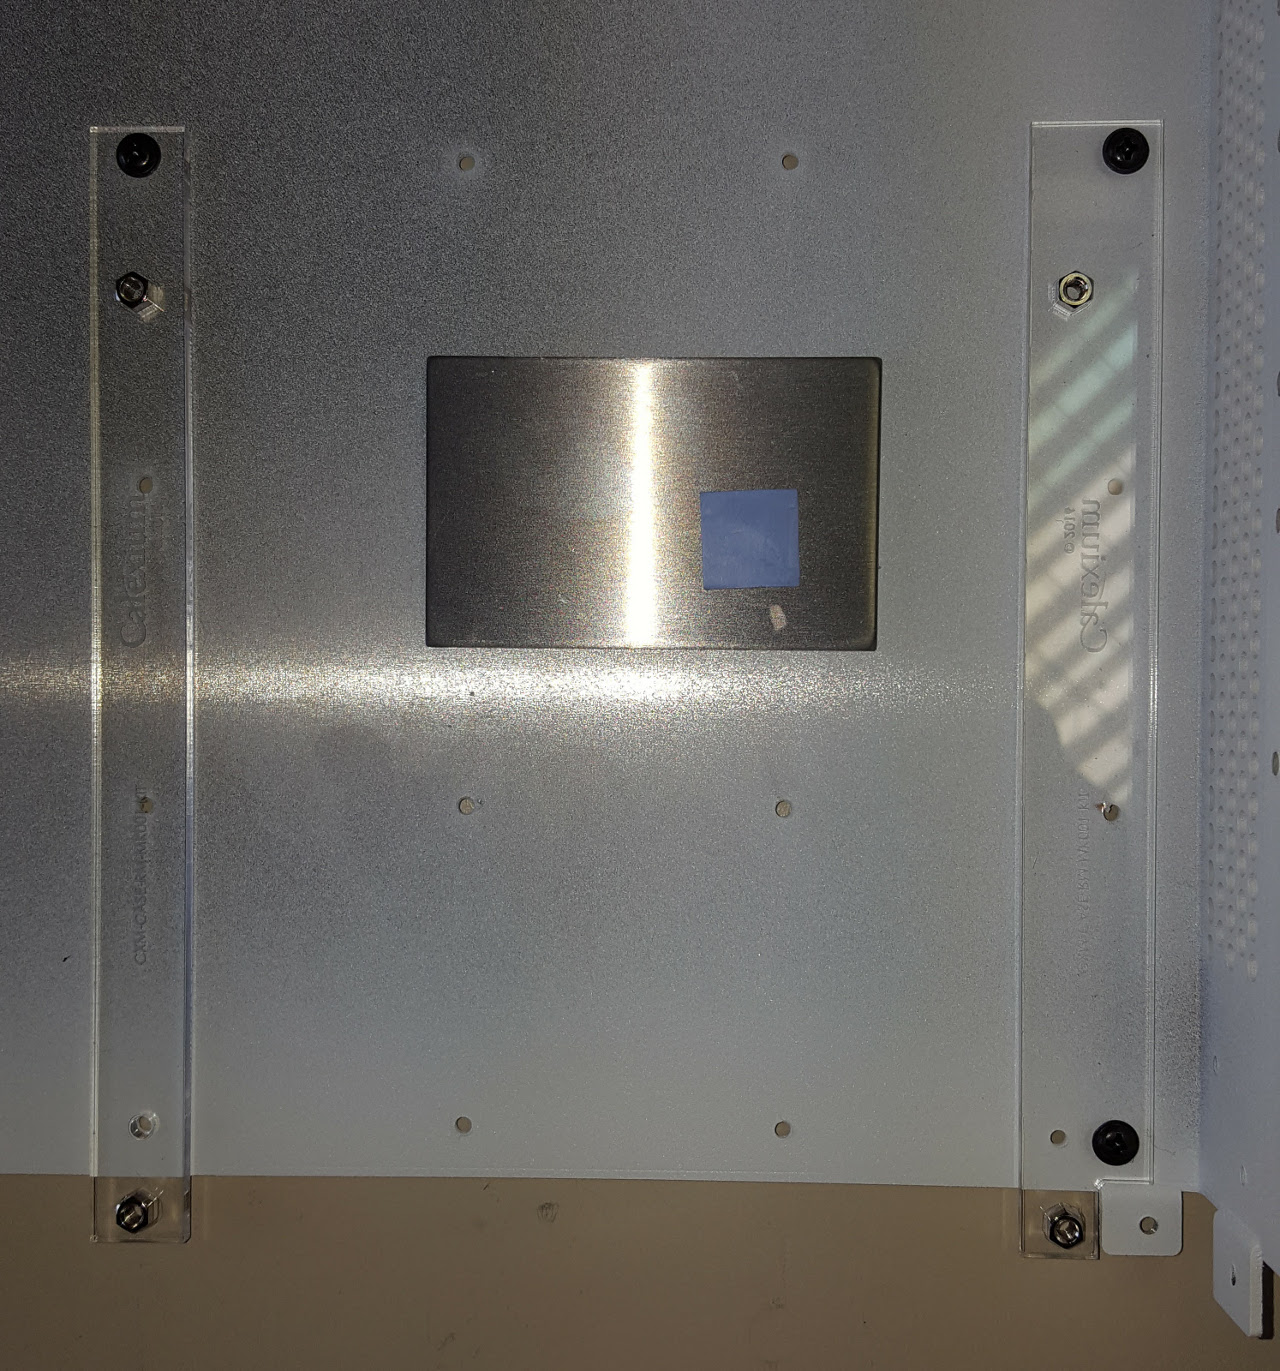
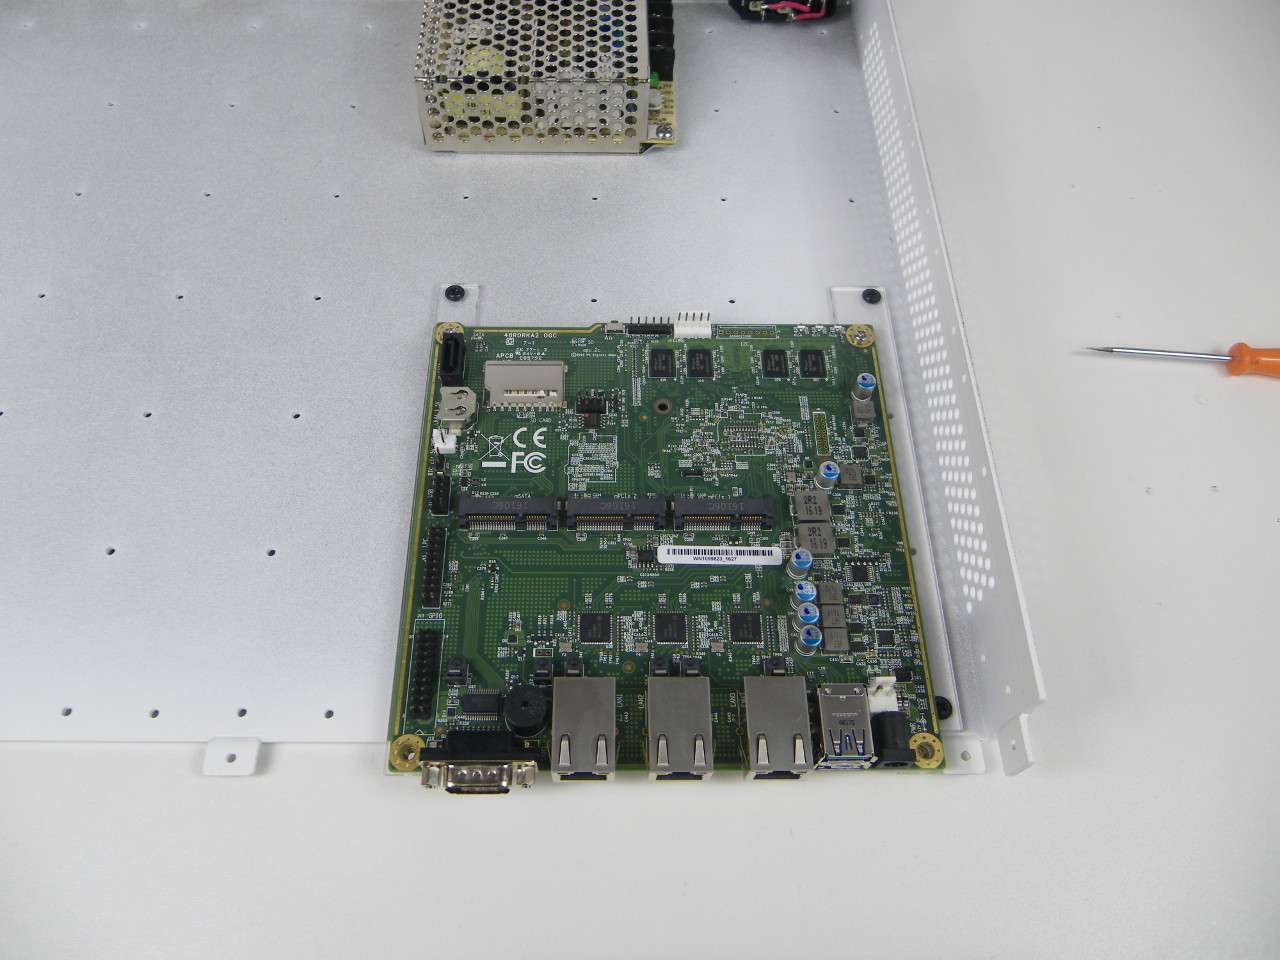
Step 3 - APU2/3/4 integration

Step 4 - Front panel

Step 5 - Cables