")
")
Here's how to install the kit for mounting a 2.5" hard disk drive or SSD inside an S2 enclosure, alongside a Noah v2 motherboard.
The provided kit consists of:
- 30cm long SATA cable
- 30cm long SATA power cable
- a pair of PMMA supports
- 4x 5 mm long countersunk flat head screws to secure a hard drive to the pair of supports
- 4x 4 mm long countersunk flat head screws to secure the pair of supports to the enclosure
You will need a hard disk drive or SSD, supplied separately.
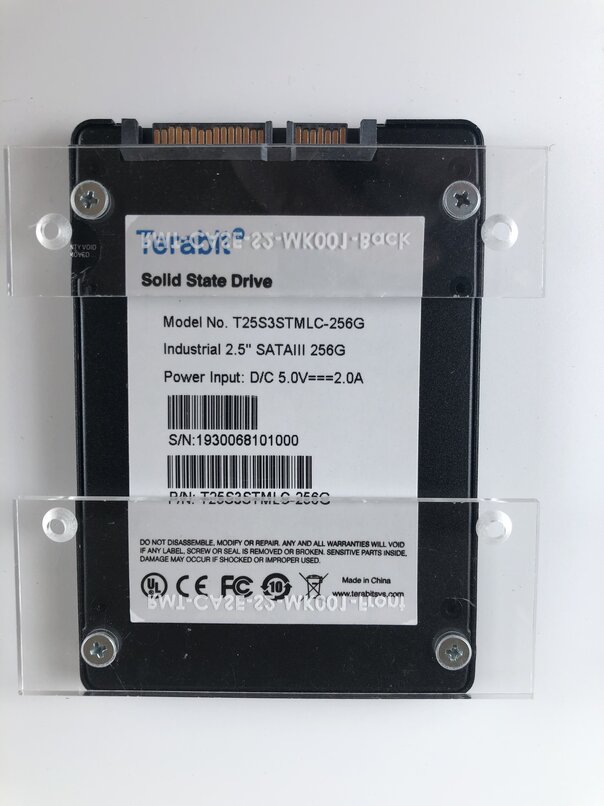
On a flat surface, flip the disc over so to screw the two PMMA supports onto the hard disk drive using the 4x 5 mm screws as in the photo below.
The lesser width PMMA support, engraved with "RMT-CASE-S2-MK001-Back", is to be used on the side of the connectors.
The PMMA supports must be under the length of the hard disk drive.
There are several ways to place the hard disk drive and its supports in the S2 enclosure as to secure the assembly to the bottom of the enclosure.
Below is a way to install a SSD in the length of the enclosure.

Once the hard disk drive is set to the enclosure using the 4x 4 mm screws, all that remains is to connect the SATA data and power cables to the motherboard.
The two connectors are located next to each other, on the edge opposite to that containing the RJ connectors.